
Spring has finally arrived and with it comes sunny days, leaves on the trees, and… birthday party season! There are a lot of birthdays to celebrate in the spring, so now is a good time to stock up on birthday cards.
The idea for this month’s card came from Pinterest (seen below) and the effect with the word “hugs” intrigued me so much I had to find out how it was created and try it out myself.

I watched the tutorial and adapted it to work with the “happy” from the Hello You Thinlits Dies from Stampin’ Up. It took a bit of figuring out, but once I did the effect looked amazing! Here is how I made my version starting off with the supplies:

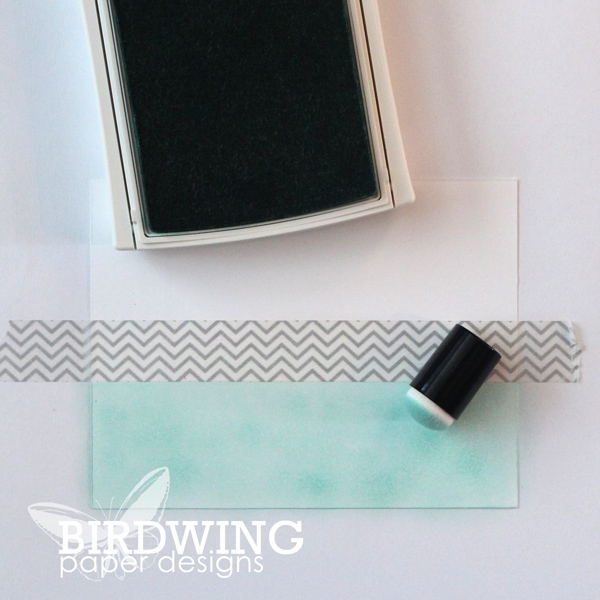
The first step was to ink up the bottom part of a piece of white card stock. I used a strip of washi tape to make the straight edge because I knew it would leave a clean edge and peel off the card stock easily.
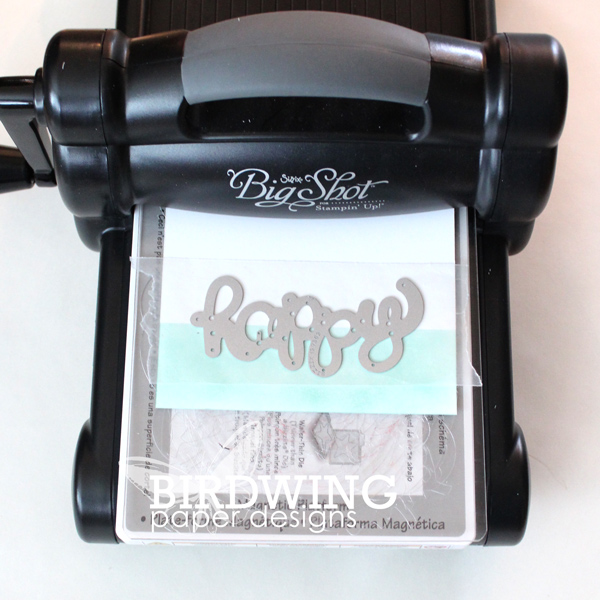
Next, the Big Shot was used with the “happy” Thinlit Die to cut out the word. I cut out 2 words from extra white card stock and then one more from the paper inked above. Just remember to keep all the little pieces from that inked paper.

This next step was the tricky part! Place adhesive on the base paper that will make the actual front of the card ensuring to put lots of adhesive where the “happy” will be. You can kind of see the adhesive peeking through in the photo below. Then, place a white “happy” in the negative space and fill in with the little pieces from the inked paper.

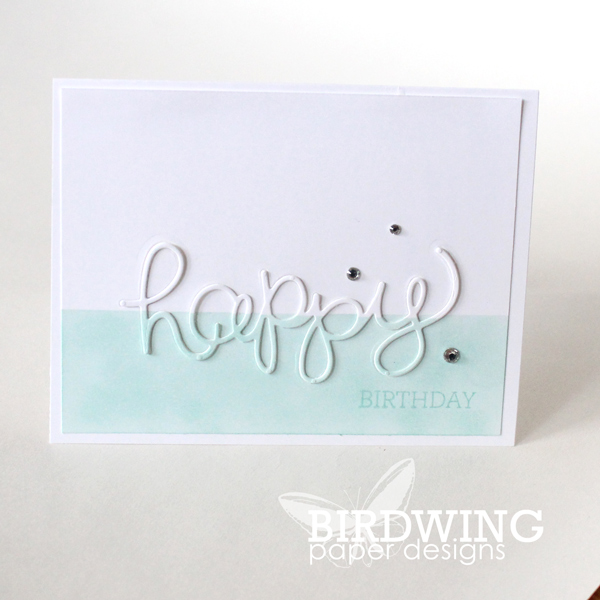
Once that step is done, use little dots of glue on the white “happy” to adhere one more white copy. This will give the word a bit of depth. You can use more layers to make the word pop out more, but I was making 10 cards and didn’t want to spend all day cutting out paper! Finally, glue down the inked “happy” to get this awesome raised effect.

After spending all that time just to get this far, I decided to simply stamp on a greeting and add a bit of glitter.
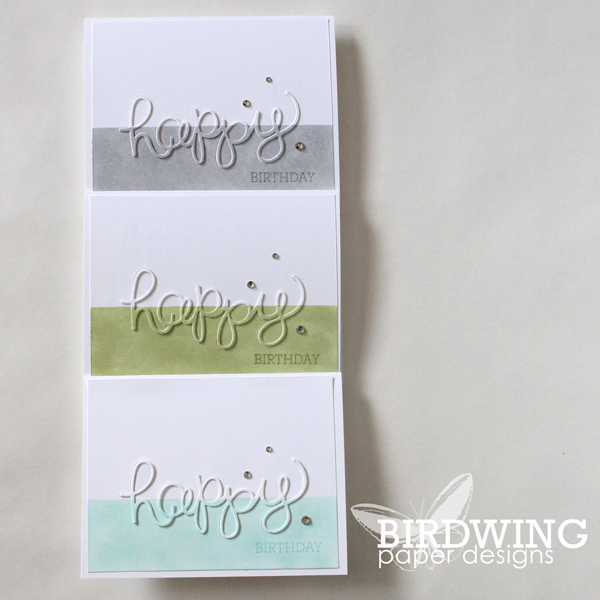
Now I am ready for the spring birthday party season and can’t wait to hand out some of these great cards!
Leah

