
All of our Christmas decorations are finally up and I love seeing the mixture of home crafted and store bought pieces throughout the house. Even though we have enough decorations already, I still wanted to add something new – something crafty.
I was wandering the mall last week and saw these giant (probably 4 feet tall) pyramid shaped trees in a store display. They looked so beautiful and modern, yet simple – like something I could make.


And that was what I did! I went home, found an empty cereal box, and started making some DIY winter trees. Here was how I did it…
The first step was to cut a cereal box (or a piece of cardboard – whatever you can find on hand) into three triangles all the same size. Then, working with the colourful side up, the edges were taped together and the seams bent to create a pyramid shape.
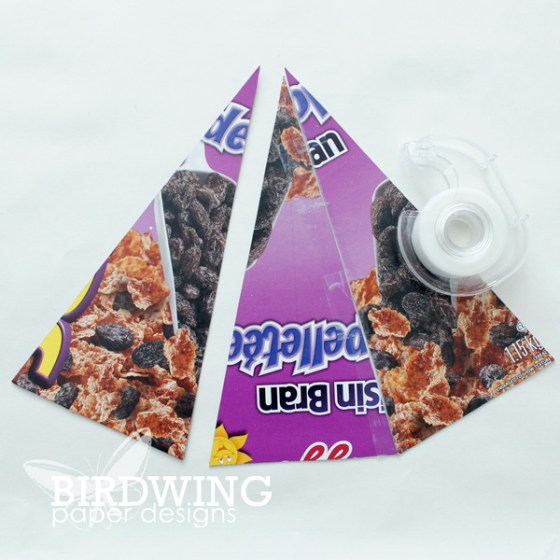
This was how it looked once taped: (Note: I reinforced the tip with a bit more tape on the outside.)

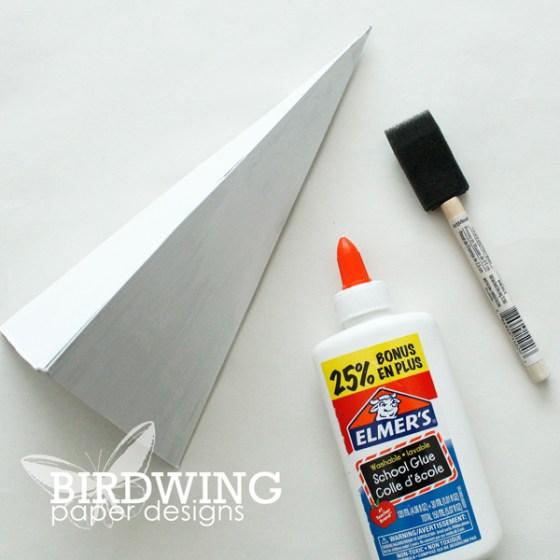
Then came the fun part that even a five year old could do… painting the tree all white.

Once dry, it was painted again, but this time with glue. (I did not let the five year old do this step!)
I worked one side at a time applying the glue and then covering it with fake snow and glitter.
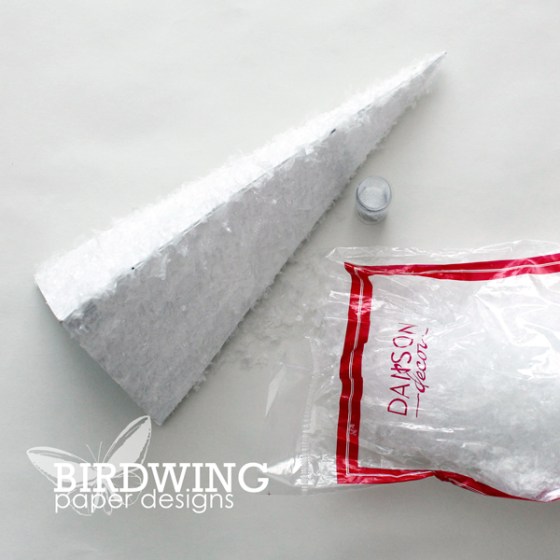
This step was so easy even an elf could it!

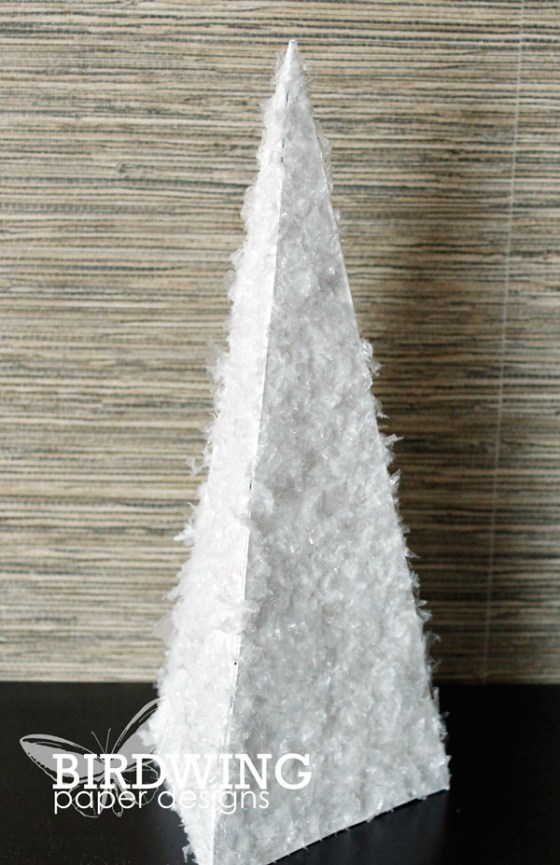
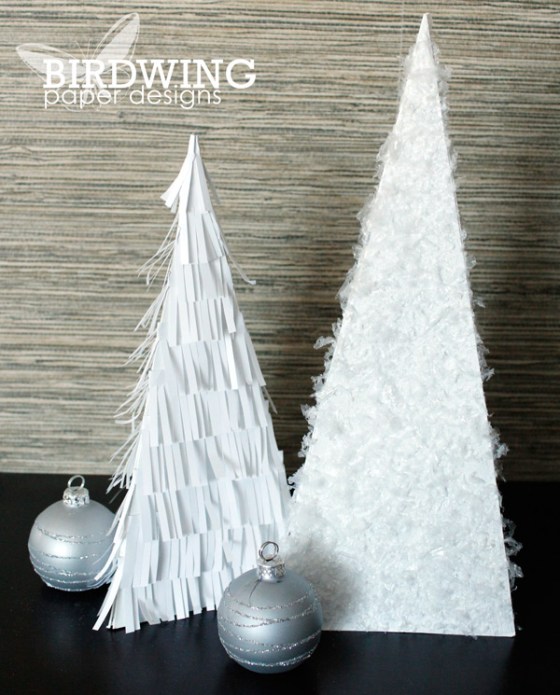
Once dry and any loose bits knocked off, it was all finished.
But it looked so lonely sitting there all by itself… so I made another one, but slightly different. The same steps were completed as above until the tree was painted white. But instead of adding glue and snow, this time I added a white paper fringe!
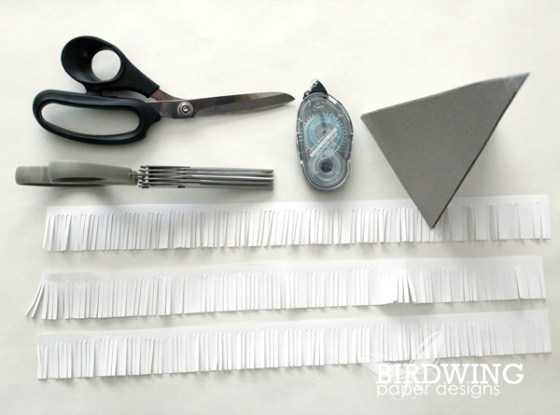
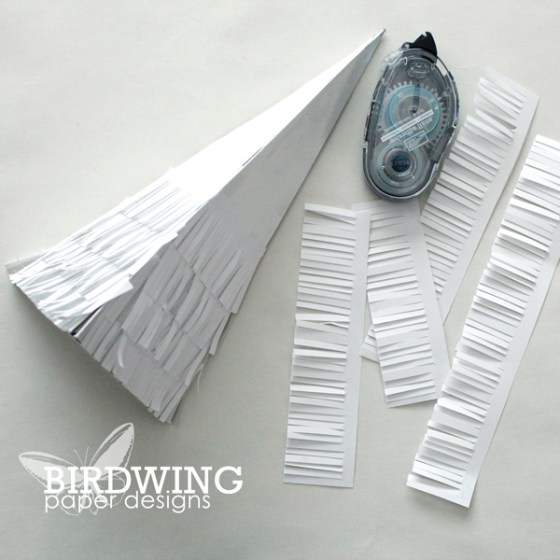
The fringe was added row by row starting from the bottom until the tree is covered. Once done, fluff the fringes with your fingers so they bend and stick out and look a bit chaotic.
That is it! Now display it with the other tree for a quick, homemade wintery scene.
I love a quick DIY craft, especially one that the kids (and elves) can help make! The kids are already asking to make some more trees, so we better start eating the cereal so we can use the boxes!
Leah

