

For a limited time on Birdwing Paper Designs Facebook Page, the fall edition of the Hello 2014 digital kit is available for FREE. Included in this free kit is a chipboard alphabet.
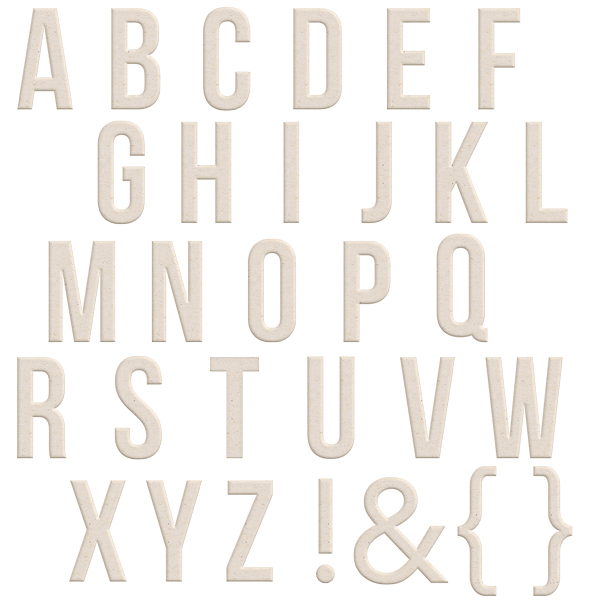
This alphabet has a modern, chunky look that works great on scrapbook layouts. It comes in a light sand colour, but can easily be altered to any colour you need. Here is a quick tutorial for doing that in Photoshop (PS):
Create or open a layout file in Photoshop. Open the chipboard alphabet and change it from a tabbed document to a floating document by clicking the tab and, while holding the mouse button down, drag the tab down and away or go to Window>Arrange>Float in Window. Move chipboard to the side so you can see both documents.

On the chipboard window, select the Rectangular Marquee Tool (M) and draw a box around a letter. Select the Move Tool (V) and drag the letter selection to the layout. If you need to select and move several letters, it is faster to use the keyboard shortcuts M and V.

Repeat with each letter until the word has been created on the layout file.
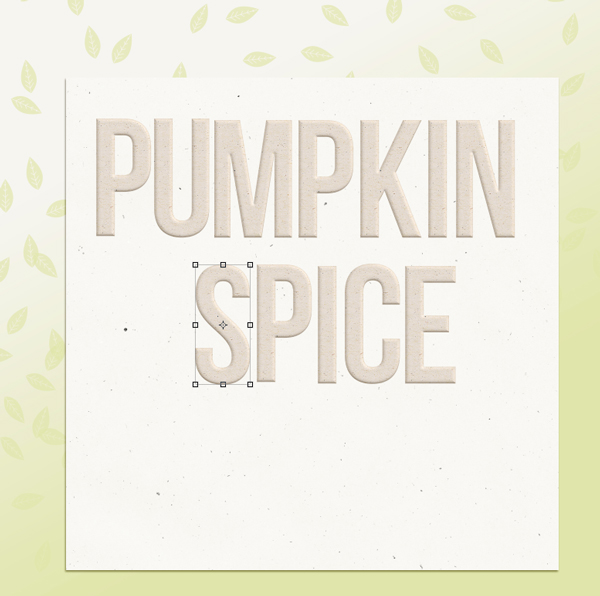
(Shortcut: To duplicate a letter (for example P and I above) select letter on layout and press CTRL/CMD + J to quickly copy it to a new layer.)
If all the letters are going to be the same colour, then save time by Merging all the letter layers (select letters, then CTRL/CMD + E) before colouring.
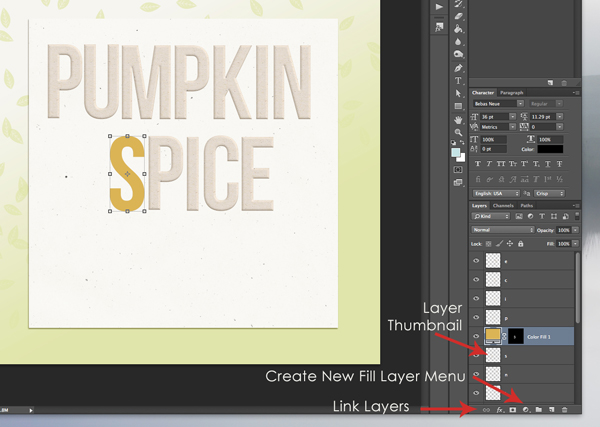
To change the colour, select the letter/word (CTRL/CMD + layer thumbnail – marching ants should appear around the outline of the letter/word). To add colour, click on Create New Fill Layer>Solid Colour from the menu at the bottom of the layers panel (it looks like a half-filled circle) and choose the colour.
Then choose the blending option “Multiply” from the drop down at the top of the layers panel. This allows the chipboard texture to show through the colour.
And, finally, Link (bottom left of layers panel) the letter and colour layers so both layers move together when resizing or repositioning.
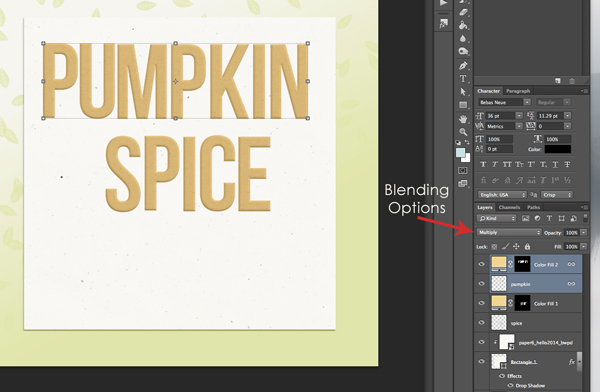
And now you have recoloured chipboard letters to use how you want on your layout. Here is what I did with my title “Pumpkin Spice” (inspired by the news that pumpkin spice will be at Starbucks early… next week!!).

There are so many more options for chipboard than just recolouring… it can also be distressed, patterned, or have designer paper added to it. The possibilities really are endless to making this alphabet your own!
Coming up next week will be Part 2 of this tutorial explaining how to distress and add pattern or paper to the chipboard alphabet.
What will you do with the chipboard letters?
Leah

