
A few months ago I wrote a post about using the Project Life style of memory keeping to organize all of my old, real (not digital) photos. (Read more about that post here.) I had 7 albums taking up too much space on the book shelf and needed to condense all those photos and memories into one album. That is where Stampin’ Up‘s new line of Project Life Card Collections (consisting of 100 double-sided cards) came in very handy. I used the Happiness Is kit along with the variety pack of 12″x12″ pocket pages to help document fourteen years of my life – from high school graduation to meeting my husband. It was a goal of mine to finish it before the summer was done, and I am pleased to report that I have finally finished it!

I am not going to show all 38 pages from the album (mostly because I had some not-so-awesome hairstyles back in the 90’s!), but I do want to show a few highlights of photos and elements used.
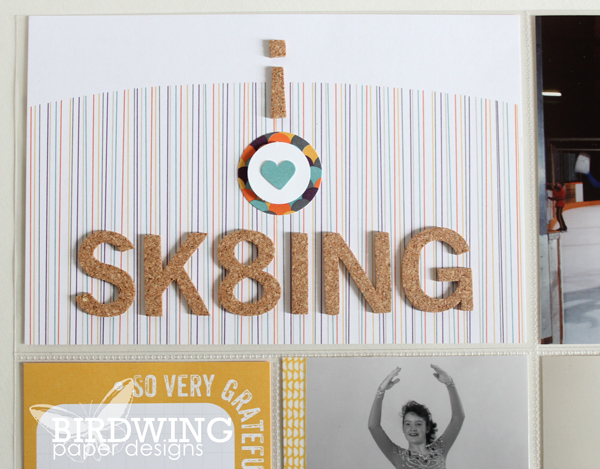
My favourite embellishments were the cork alphabet stickers from the Happiness Is accessory pack. The stickers were perfect for making eye-catching titles:


As the cork stickers were being used up, I had to get more creative with the remaining letters and numbers. In the title below, I ran out of “A”s and had to use the number 8 to complete the word “skating”! Then there were no more “I”s and used an upside down exclamation mark for the little “i”.
And with what letters remained, I was able to make initials of names and places:


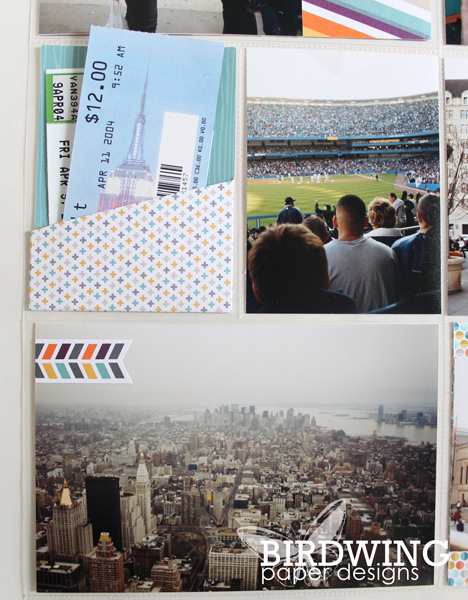
Another great component to the Happiness Is accessory pack is the specialty pocket cards designed to hold an assortment of keepsakes like tickets, notes, small photos, ID cards, etc. I used one to hold all the ticket stubs from my New York trip…
…and another to keep small notes from high school friends:

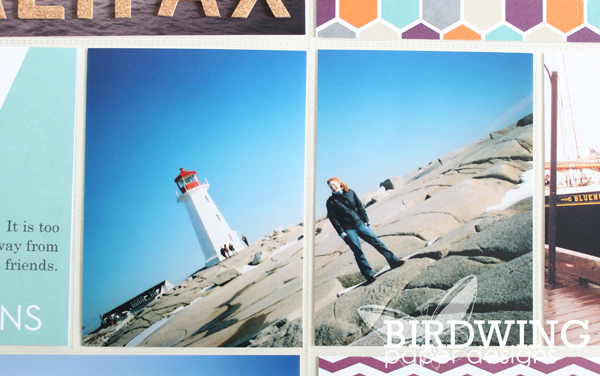
Not all the photos and memorabilia I had fit nicely into the Project Life pockets. This photo needed to be split in half to work with the page layout…
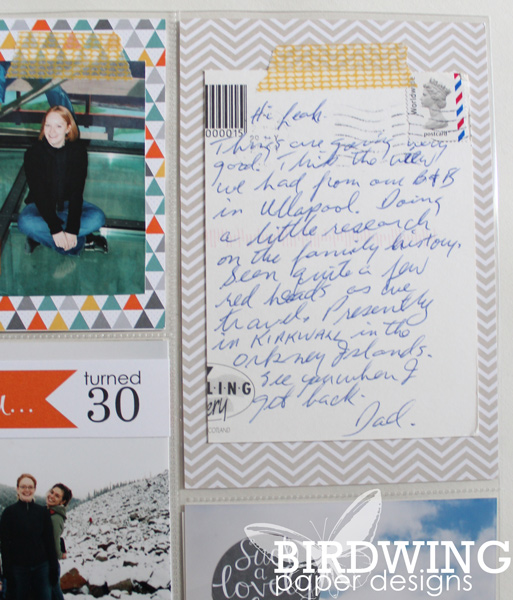
… while these postcards and greeting cards were too small for the pockets and had to be layered on top of patterned paper.


And some items were just too big to fit in any of the pockets. It was time to get creative again!
As seen in the image below, I used a standard size page protector (from Staples that I found in my stash of office supplies) to fit the 8″x10″ grad photo mounted to white card stock. I also wanted to add a special greeting card from my parents into the album, so I cut a page protector to fit the card and sealed the edges with washi tape. It worked great and added a nice layering effect to the pages!

As I was getting closer to finishing the album, I realized I needed just a few more photo pocket pages but didn’t want to buy a whole package. Thankfully I discovered that a local scrapbook store (The Urban Scrapbook in Edmonton) sold individual pages for only 75 cents!
I am so relieved that this project is done! I have been wanting to tackle it for a few years and now it can be crossed off the list of things to do. It was fun working with all the real photos and pocket cards, but I will be glad to get back to digital photo projects – there is so much less clean up!
Do you have any photo projects on your list that you would love to finish?
Leah


Leah!
I’m so glad that you had success with Project Life! Your album looks amazing.
I have a favour to ask. Would you mind if I borrowed it to showcase at my Project Life class this weekend. In exchange, I would offer you a $25 GC for your first club night. What do you think?
Lyns
Lynsay Mahon Stampin’ Up! Independent Demonstrator (780) 469-5464 ********************************************** visit my blog for craft ideas: http://www.lynsay.stampinup.net/blog
LikeLike
Of course you can borrow it for your class! Just promise not to make any comments on my crazy hairstyles through the years!!
LikeLike