
My first craft space consisted of a small book shelf in the basement and the kitchen table. I would run up and down the stairs grabbing supplies that I had forgotten and would have to clear my stuff before dinner every night! 10 years later, I have a designated craft “room” that was finally completed with our basement renovation two summers ago. (If it doesn’t have a door then is it still a room, or is it a nook?)
The space is long and narrow so it has a long desk/table for working on one side and a big IKEA bookcase for storage on the other. Let’s start our tour on the working side:
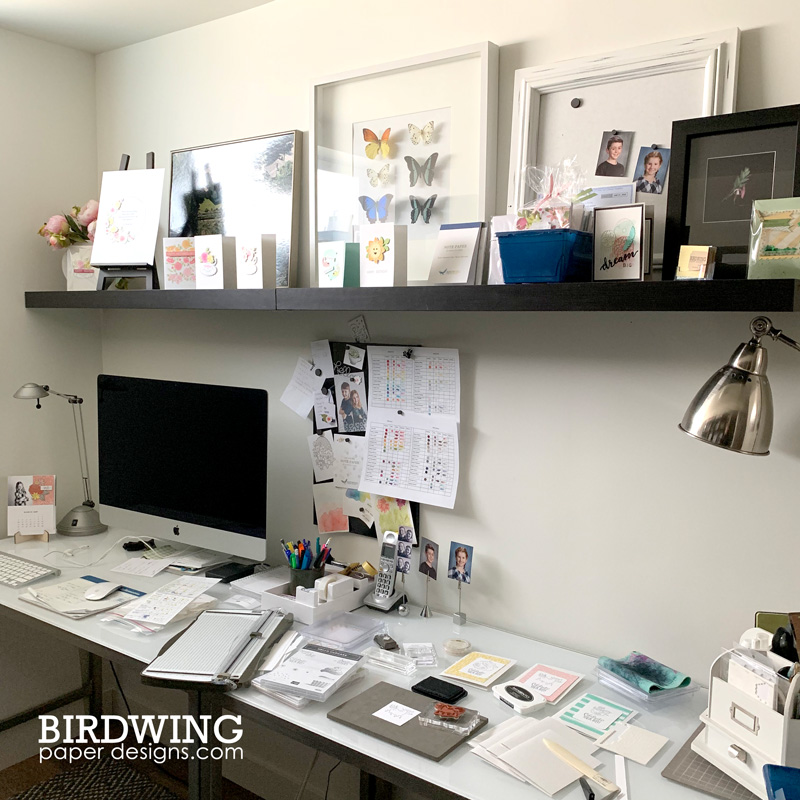
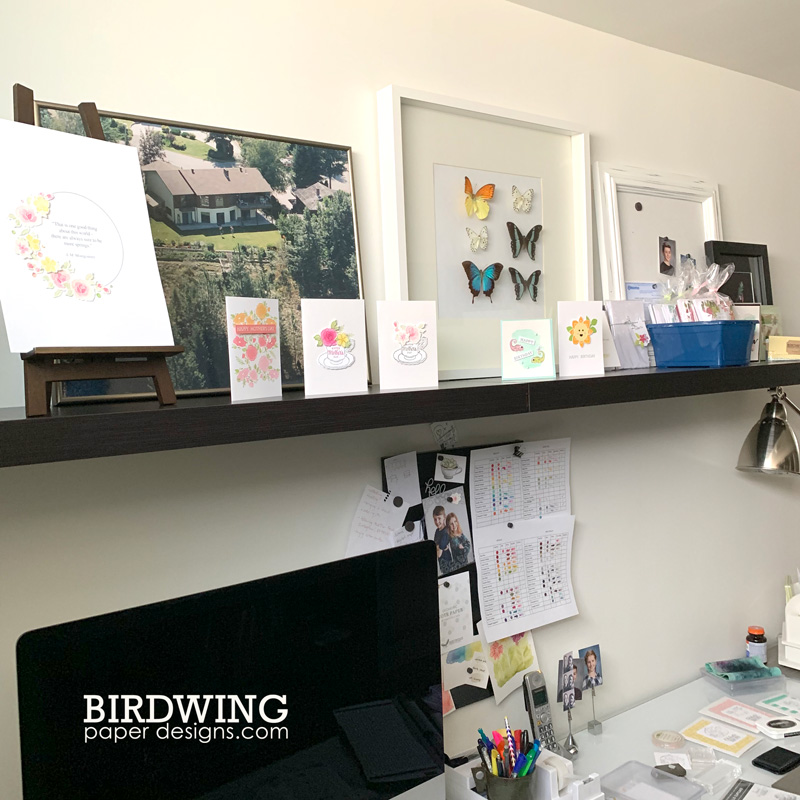
The thing I love most about this part of the room is the inspiration shelf! When I design cards they all go onto the shelf where I can see them and decide which ones I like and which ones need to be reworked. I also display artwork, photos, and part of my butterfly collection. (In a previous career many years back, I was an entomologist and raised butterflies at a butterfly garden in the Okanagan. My favourite type of butterfly was the Birdwing, hence my business name!)
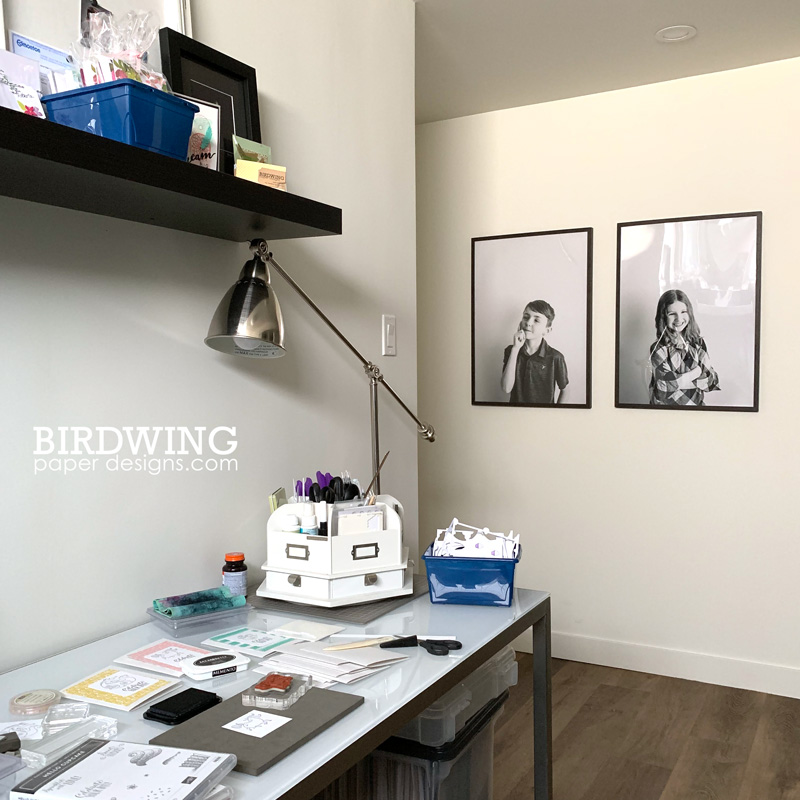
I love looking at these gorgeous pictures of the kids taken by Baby Bee Photography…
On the wall above my desk is a magnetic board filled with random notes, colours, stamps, project ideas, and a comprehensive list of all my Stampin’ Up ink and paper that I have on stock.

And finally in my workspace, all the tools I use on a regular basis in a handy carousel.

The other side of this narrow craft space is the storage area. I have a large IKEA unit that holds all of my essential craft supplies (like all those stamp sets) as well as my photo books, Project Life albums, and Stampin’ Up! catalogues.
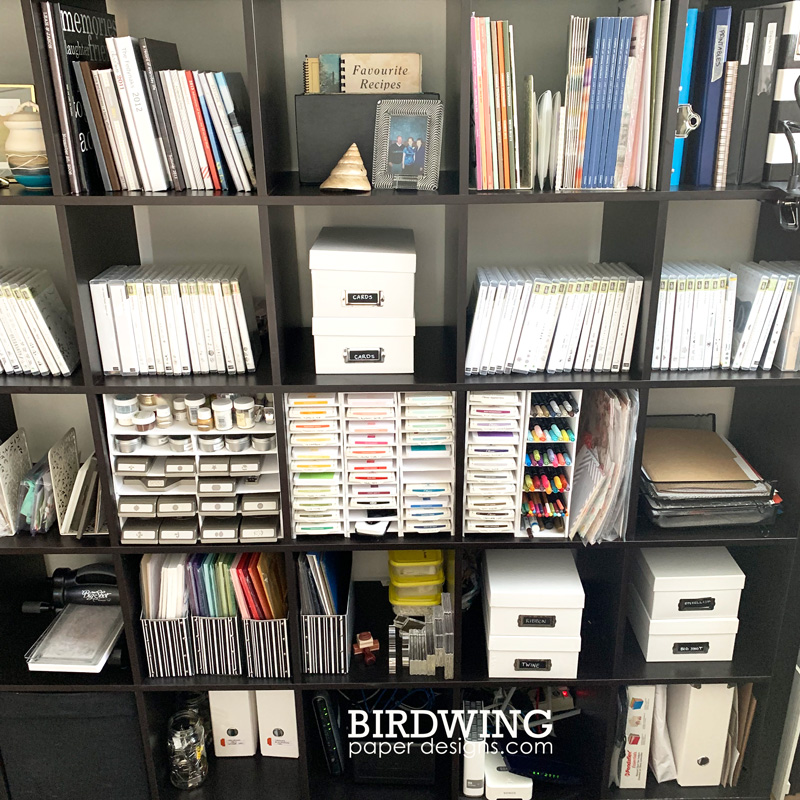
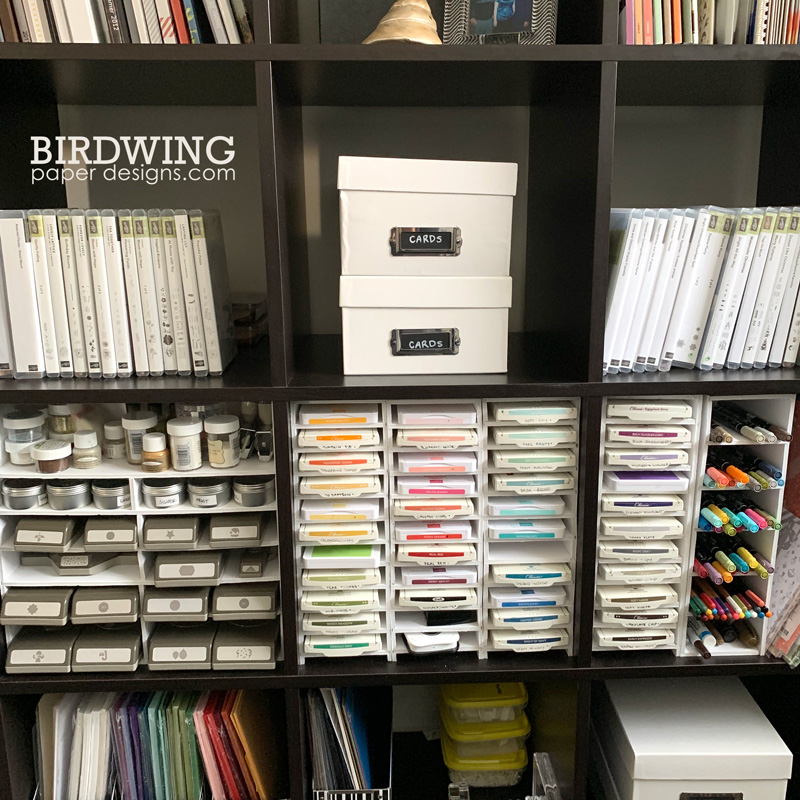
Last fall I wanted to redo the ink pad storage, but didn’t want to spend a lot of money. I researched some DIY ideas on Pinterest and ended up making these shelves out of foam core.
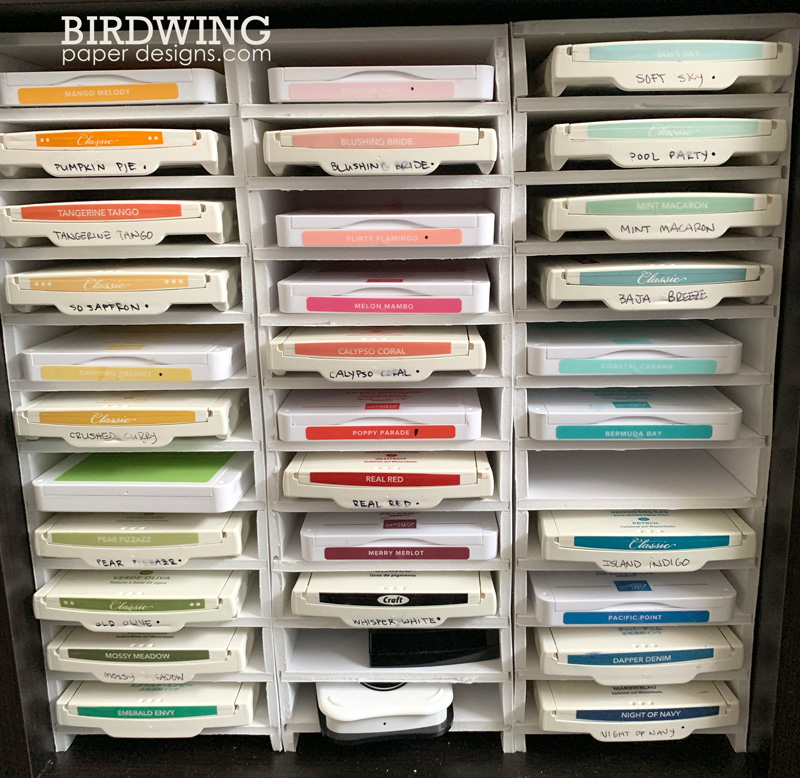
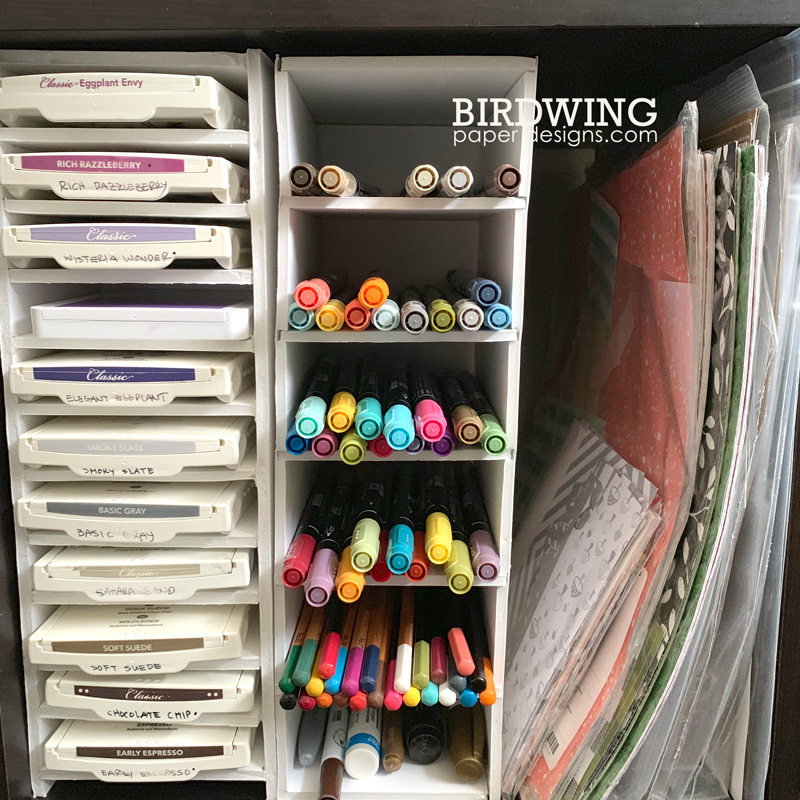
I made each tower of shelves separately so I could expand as needed. Currently, I have 4 towers of ink pads and another custom tower for markers and pens.
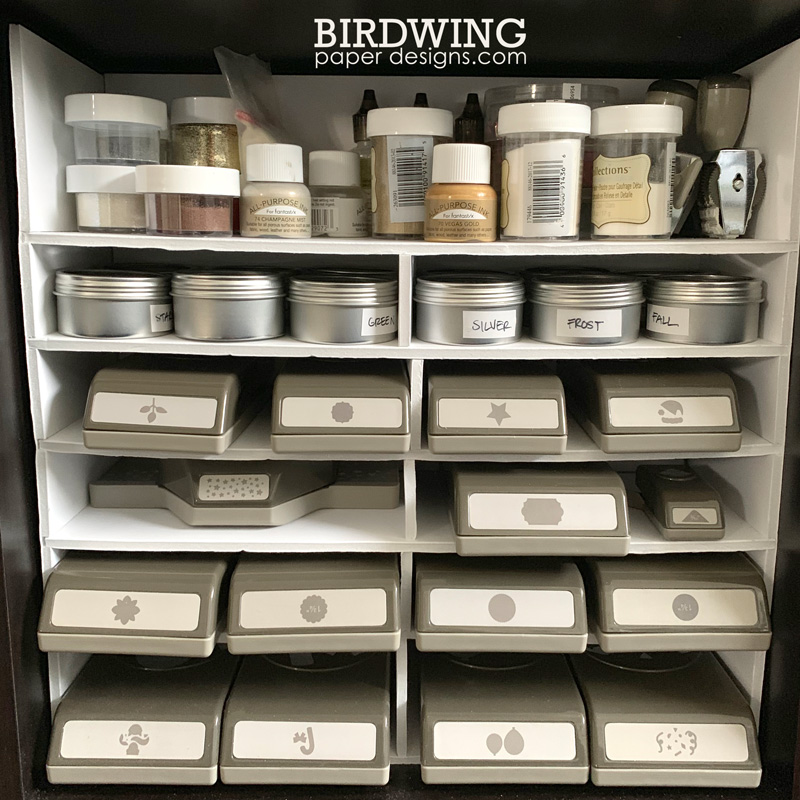
I loved this storage solution so much that I made another one for punches and other small containers that store sequins, buttons, and embossing powder,
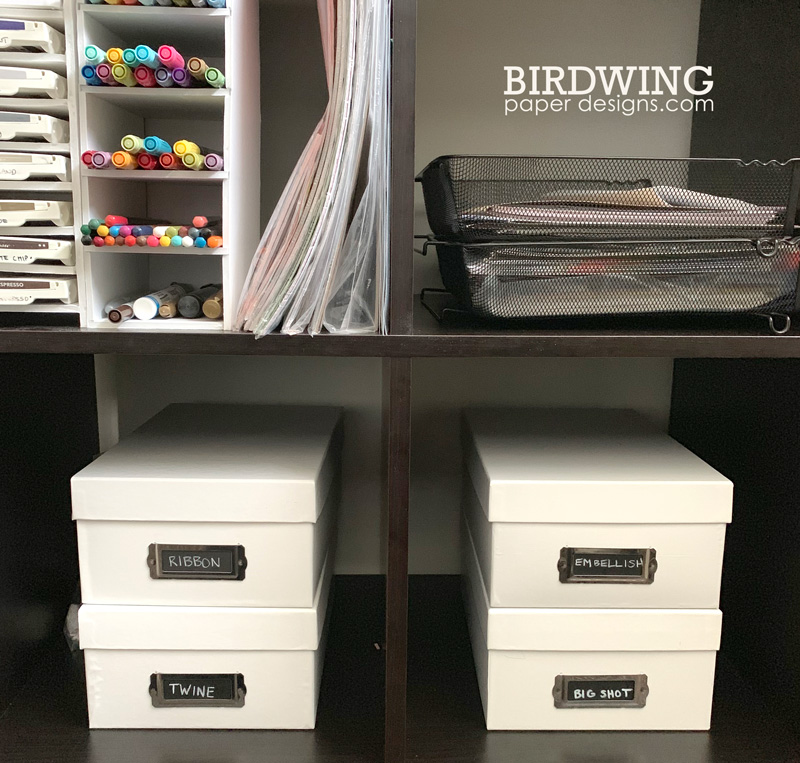
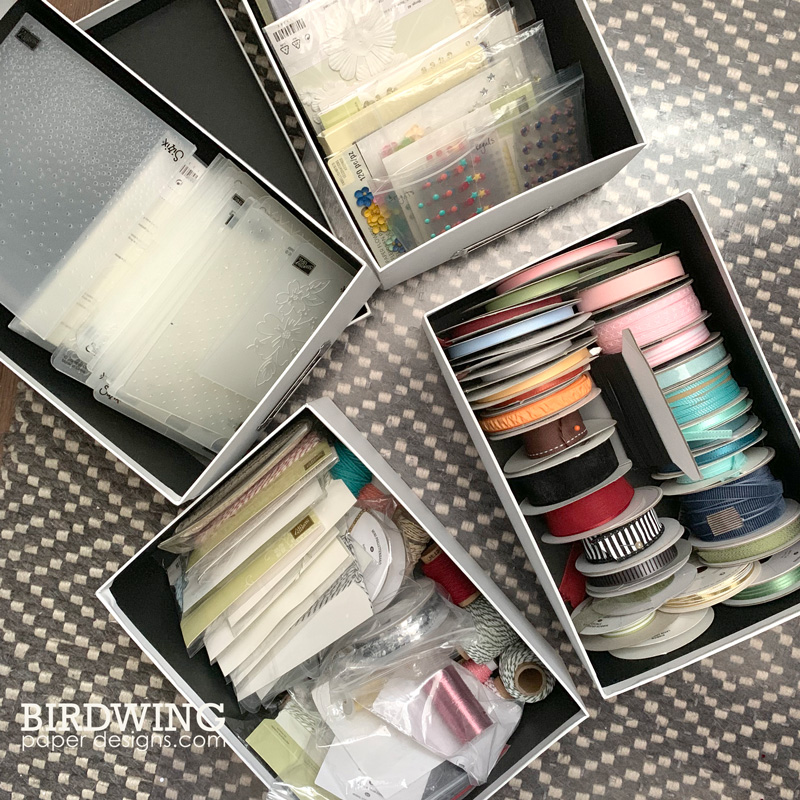
Other supplies like embellishments, ribbons, twine, and embossing folders are kept looking neat and tidy in white boxes.
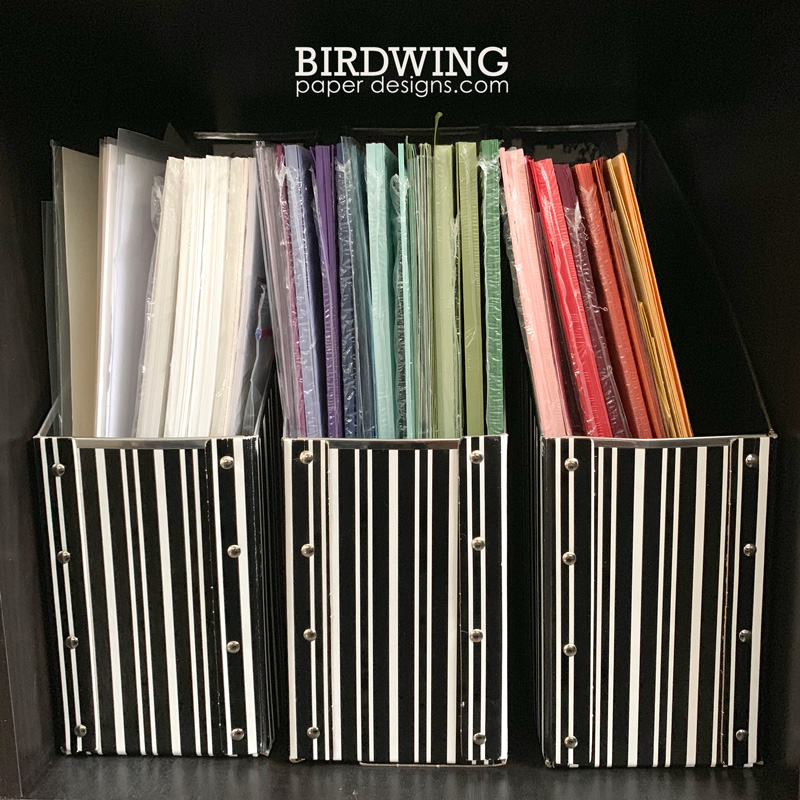
The colourful paper is kept in magazine holders, and I keep every little bit of scrap paper! You can’t see it, but the scraps are tucked in with the regular paper according to colour.
Although my space is small, it is very efficient and I have made it work for me. Everything is within arms reach and on open shelves so I know what products I have with a quick glance.
I love researching storage and organization ideas, so if you have any fantastic ideas that work for you, please share them!
Happy spring!
Leah


Thanks for showing your craft room! Mine looked really awesome for a while and then the craft table got all piled up with junk and I acquired more supplies than I can find room for. It needs a good spring cleaning. I should put together a blog post of what it looked like while it was still tidy.
LikeLike
Having too many supplies is what got me started on cleaning things out, reorganizing, and building new storage! I should be good for a while until the cycle starts again!!
LikeLike