
Making cards is a messy, creative business – I usually have ink all over my hands and desk, and little splatters everywhere! To try to contain the inky mess and help with the clean up process I use a silicone mat to protect my work area. I have seen crafters use these silicone mats in so many different ways, and I wanted to share one of the ideas I came across: using the mat as a stamp pad for multiple colours.

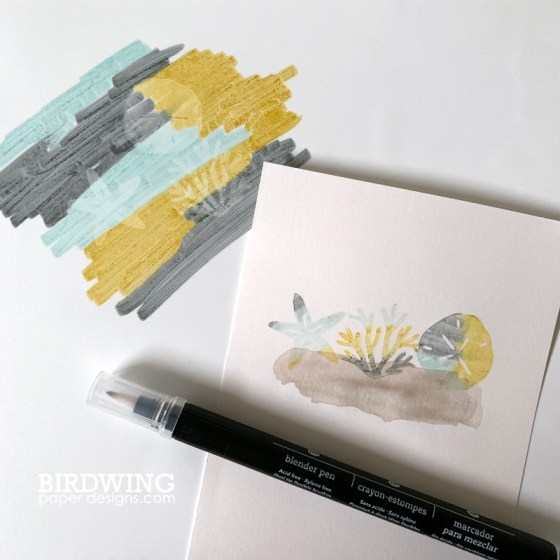
This technique involves scribbling different colours of marker (I used Stampin’ Write markers: Pool Party, Basic Gray, and Crushed Curry) on a silicone mat and stamping your image from that. Any kind of silicone mat will work for this technique, like the Silicone Craft Sheet from Stampin’ Up!
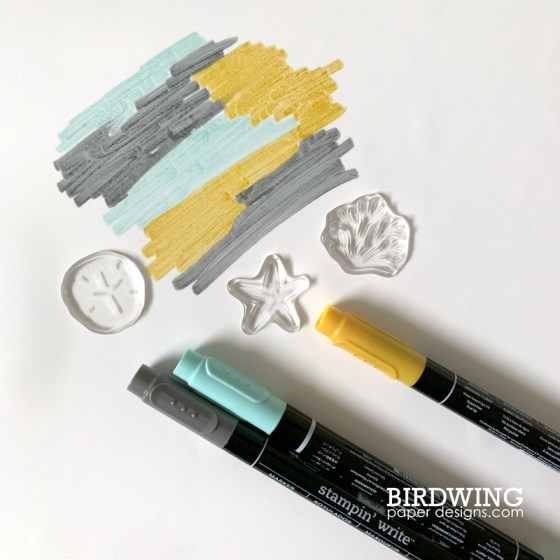
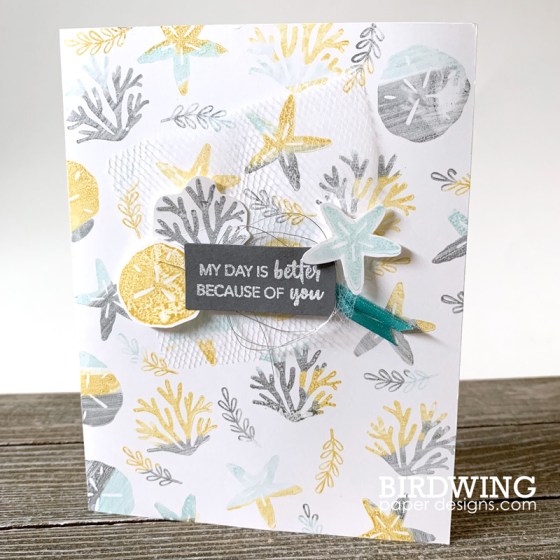
These cute beach themed stamps came with last month’s Paper Pumpkin kit, A Little Smile, and they were perfect to use with this technique. You want to look for a smaller stamp so you don’t have to scribble as big of an area and one that has a big enough stamping surface to pick up the colour.
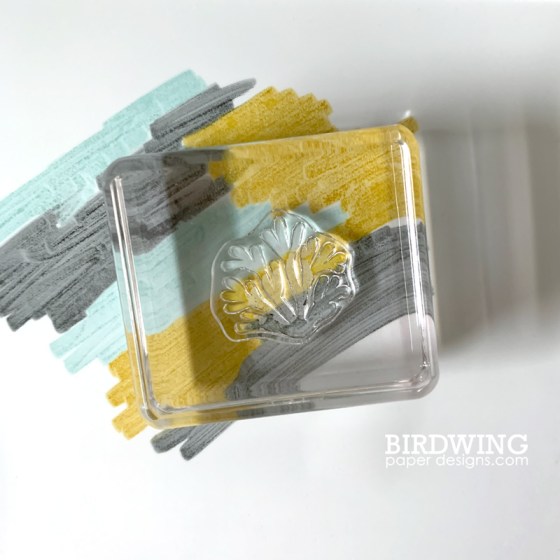
You can stamp repeatedly on the scribbled marker, but if you start losing some of the image, just scribble more colour. (HINT: Be careful not to mix colours as it will muddy the ink on the mat and on the marker.) For this background I only had to add more colour once!

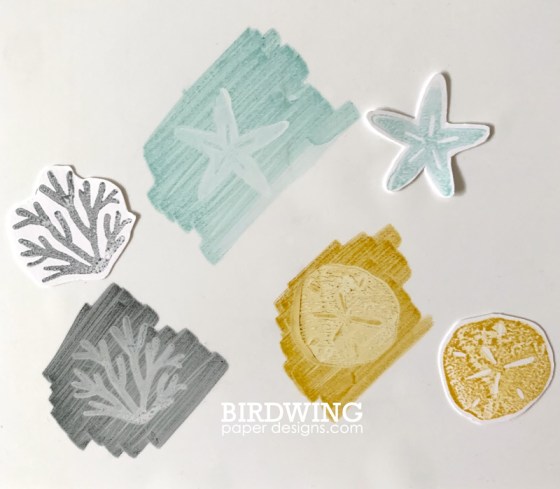
To finish off the card I stamped (in one colour) and fussy cut the beach elements to have them pop off the busy background. I did the mat stamping for these stamps so the colours would match – stamping with the coordinating ink pad would produce a much darker colour.
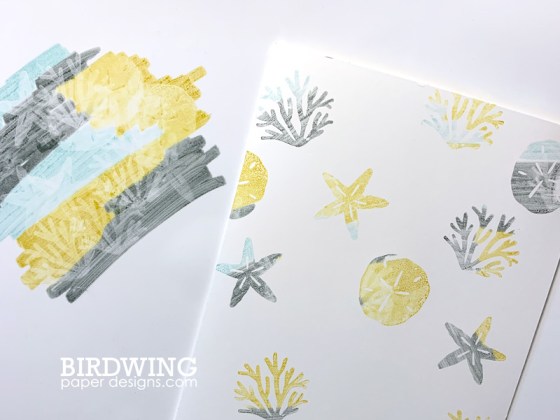
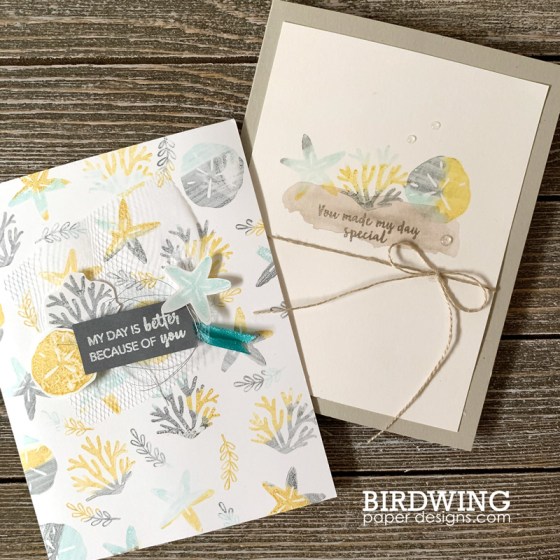
 This technique creates stamped images that have imperfections and texture which is perfect for a nature inspired card like this!
The second card follows the technique exactly the same as above, except I used the Blender Pen to soften the colour transitions once stamped.


This is such a fun technique to try, especially if you want the kids to help stamp! There is no limit to the number of colours, the pattern is determined by the scribbles, and no two stamps will look the same.
Happy silicone mat stamping!!
Leah


I like this technique! Such unique results. Great cards!
LikeLike