
September is here and the kids are back in school! HOORAY!! I love this time of year because I finally have some time to craft and start those fall, Halloween, and Christmas projects. My list of crafts to do over the next few months is quite extensive, so I started as soon as the kids were on their way to school! The first project on my list – update our wreath on the front door.
I don’t have a lot of fall craft supplies, but I do have a few basics that I use in different ways each year. Many years ago I bought the Bigz Autumn Accents from Stampin’ Up! and I use it every fall to make leaves for cards and wreaths.
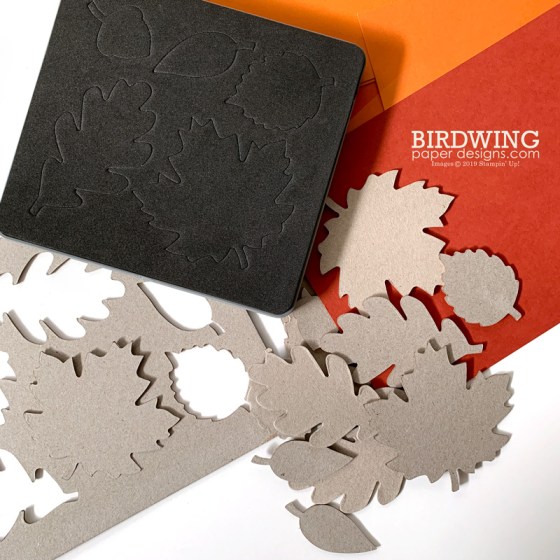
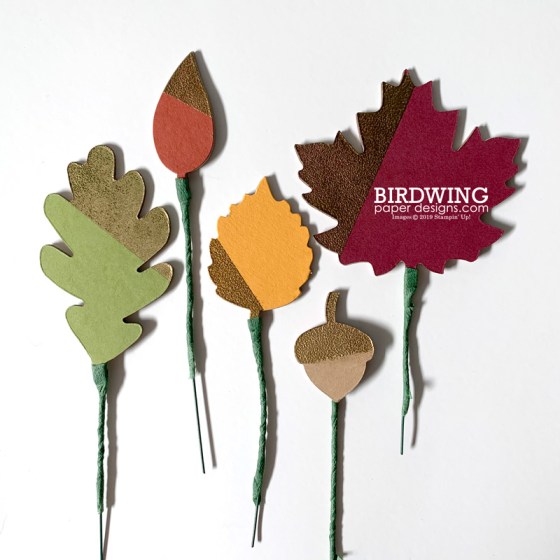
This year I wanted to make thick, strong leaves for the wreath so I cut them from card stock (Cajun Craze, Merry Merlot, Crushed Curry, Crumb Cake, and Old Olive) and chipboard. Yes, chipboard! The retired Bigz dies work best for cutting chipboard with the Big Shot, but it can still be done with some dies using thinner chipboard or cereal box cardboard.
TIP: I keep all the chipboard used in packaging Stampin’ Up! paper and the Paper Pumpkin kits and keep it for future projects like this one!
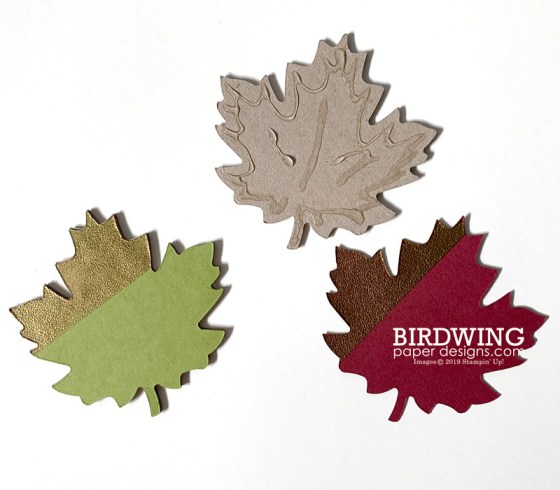
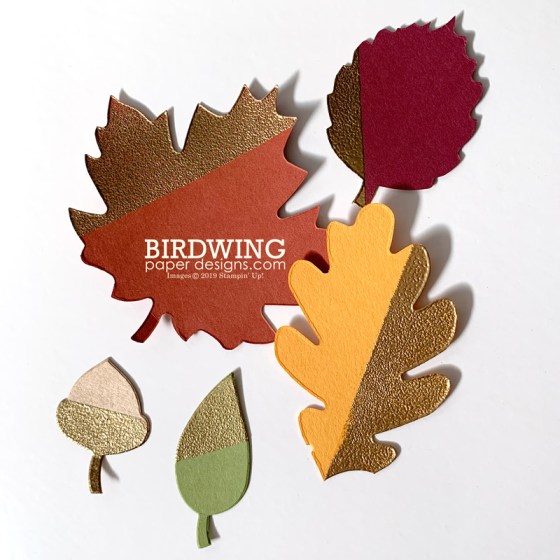
I didn’t have any coordinating stamps for these leaves and wanted to add a gold element to them, so I “block embossed” the edge of the leaves. To do this, simply stamp the Versamark ink pad directly to the card stock leaf – no blocks or stamps required. This will leave a clean edge to adhere the gold embossing powder.
Once it was heat embossed, the card stock was glued to the corresponding chipboard leaf to give it more strength and dimension.
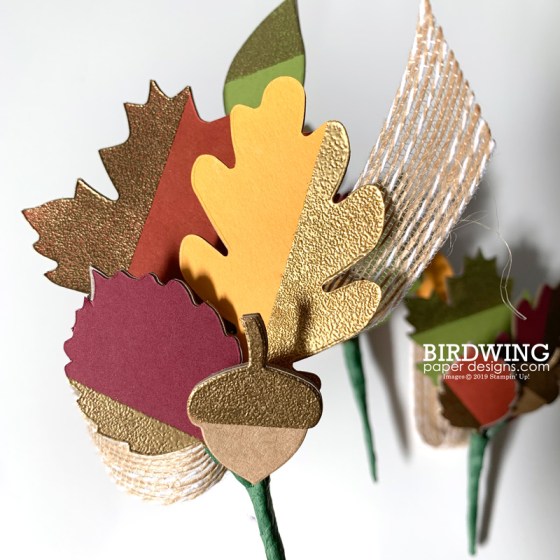
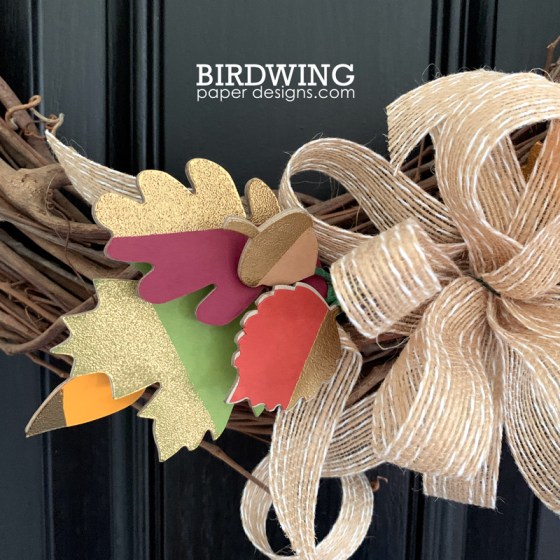
Before putting them on the wreath, I wanted to group the leaves together. I used my floral design training (Thanks Bunches Flower Company!!) to wire each leaf and attach them with floral tape.
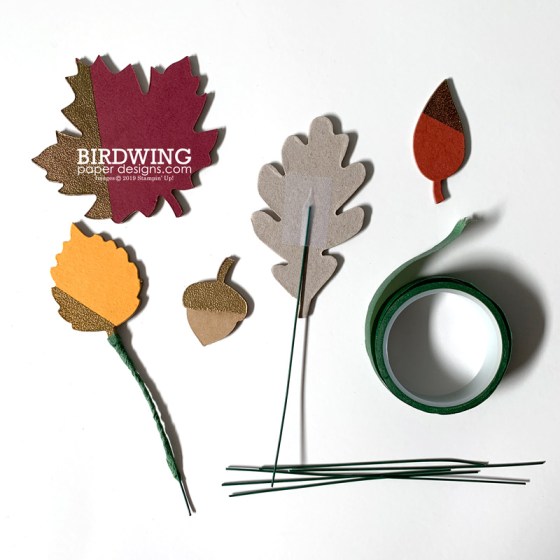
Using more floral tape, the leaves were assembled in a group with jute ribbon added as an accent.
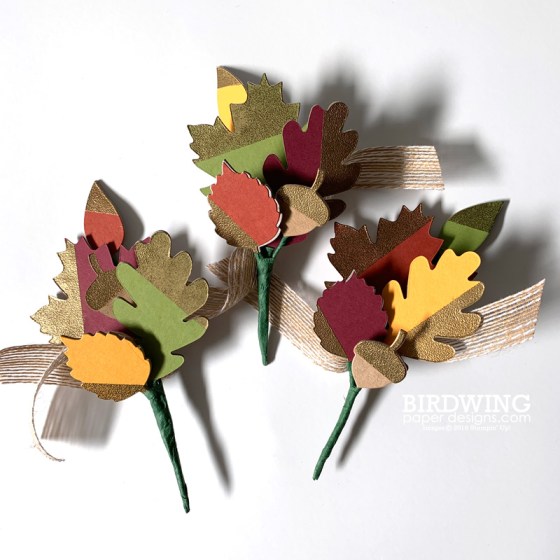
The advantage of wiring and taping the leaves separately was having the ability to move and adjust the leaves in the group as needed. It also gave them more space and dimension in the grouping.
Don’t they look like fall corsages?!!
The other advantage of grouping the leaves like this was how easy the taped and wired ends were to tuck into the grapevine wreath. I didn’t even need to use any adhesive to hold them in the wreath!
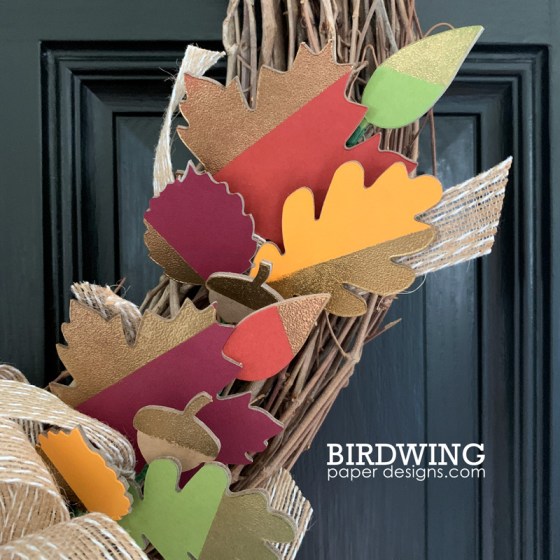
To finish off the wreath, a bow was added using the remaining jute ribbon.
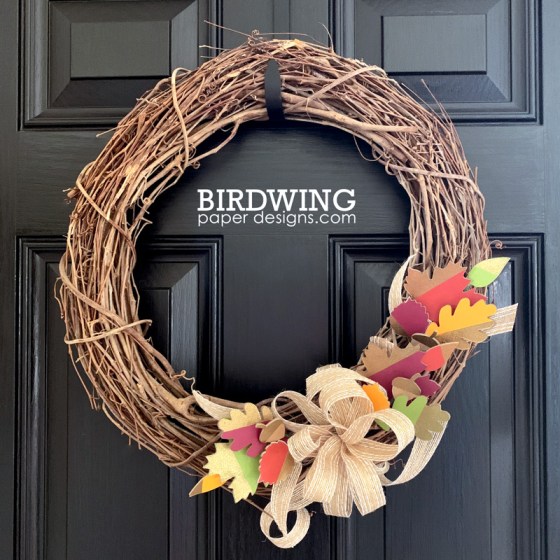
I am loving the new wreath on our door and glad that the first project on my list is finished! Now… on to the next project!!
For supplies for your DIY projects and to shop from the new Holiday Catalogue, visit my Stampin’ Up! store.
Happy fall!
Leah

