
Last year I did a post about silhouettes and since then I have learned a new/better way to create them in Photoshop. The first time I tried it was pretty much trial and error until I had something I liked. There were a lot of errors and it took me FOREVER to make just one silhouette. I decided to update the kids framed silhouettes using a tutorial online (just use Google to find one). The end results this time were a thousand times better and took a fraction of the time, although Robyn’s curly hair was still quite tricky. Here are the before photos of the kids’ profiles:
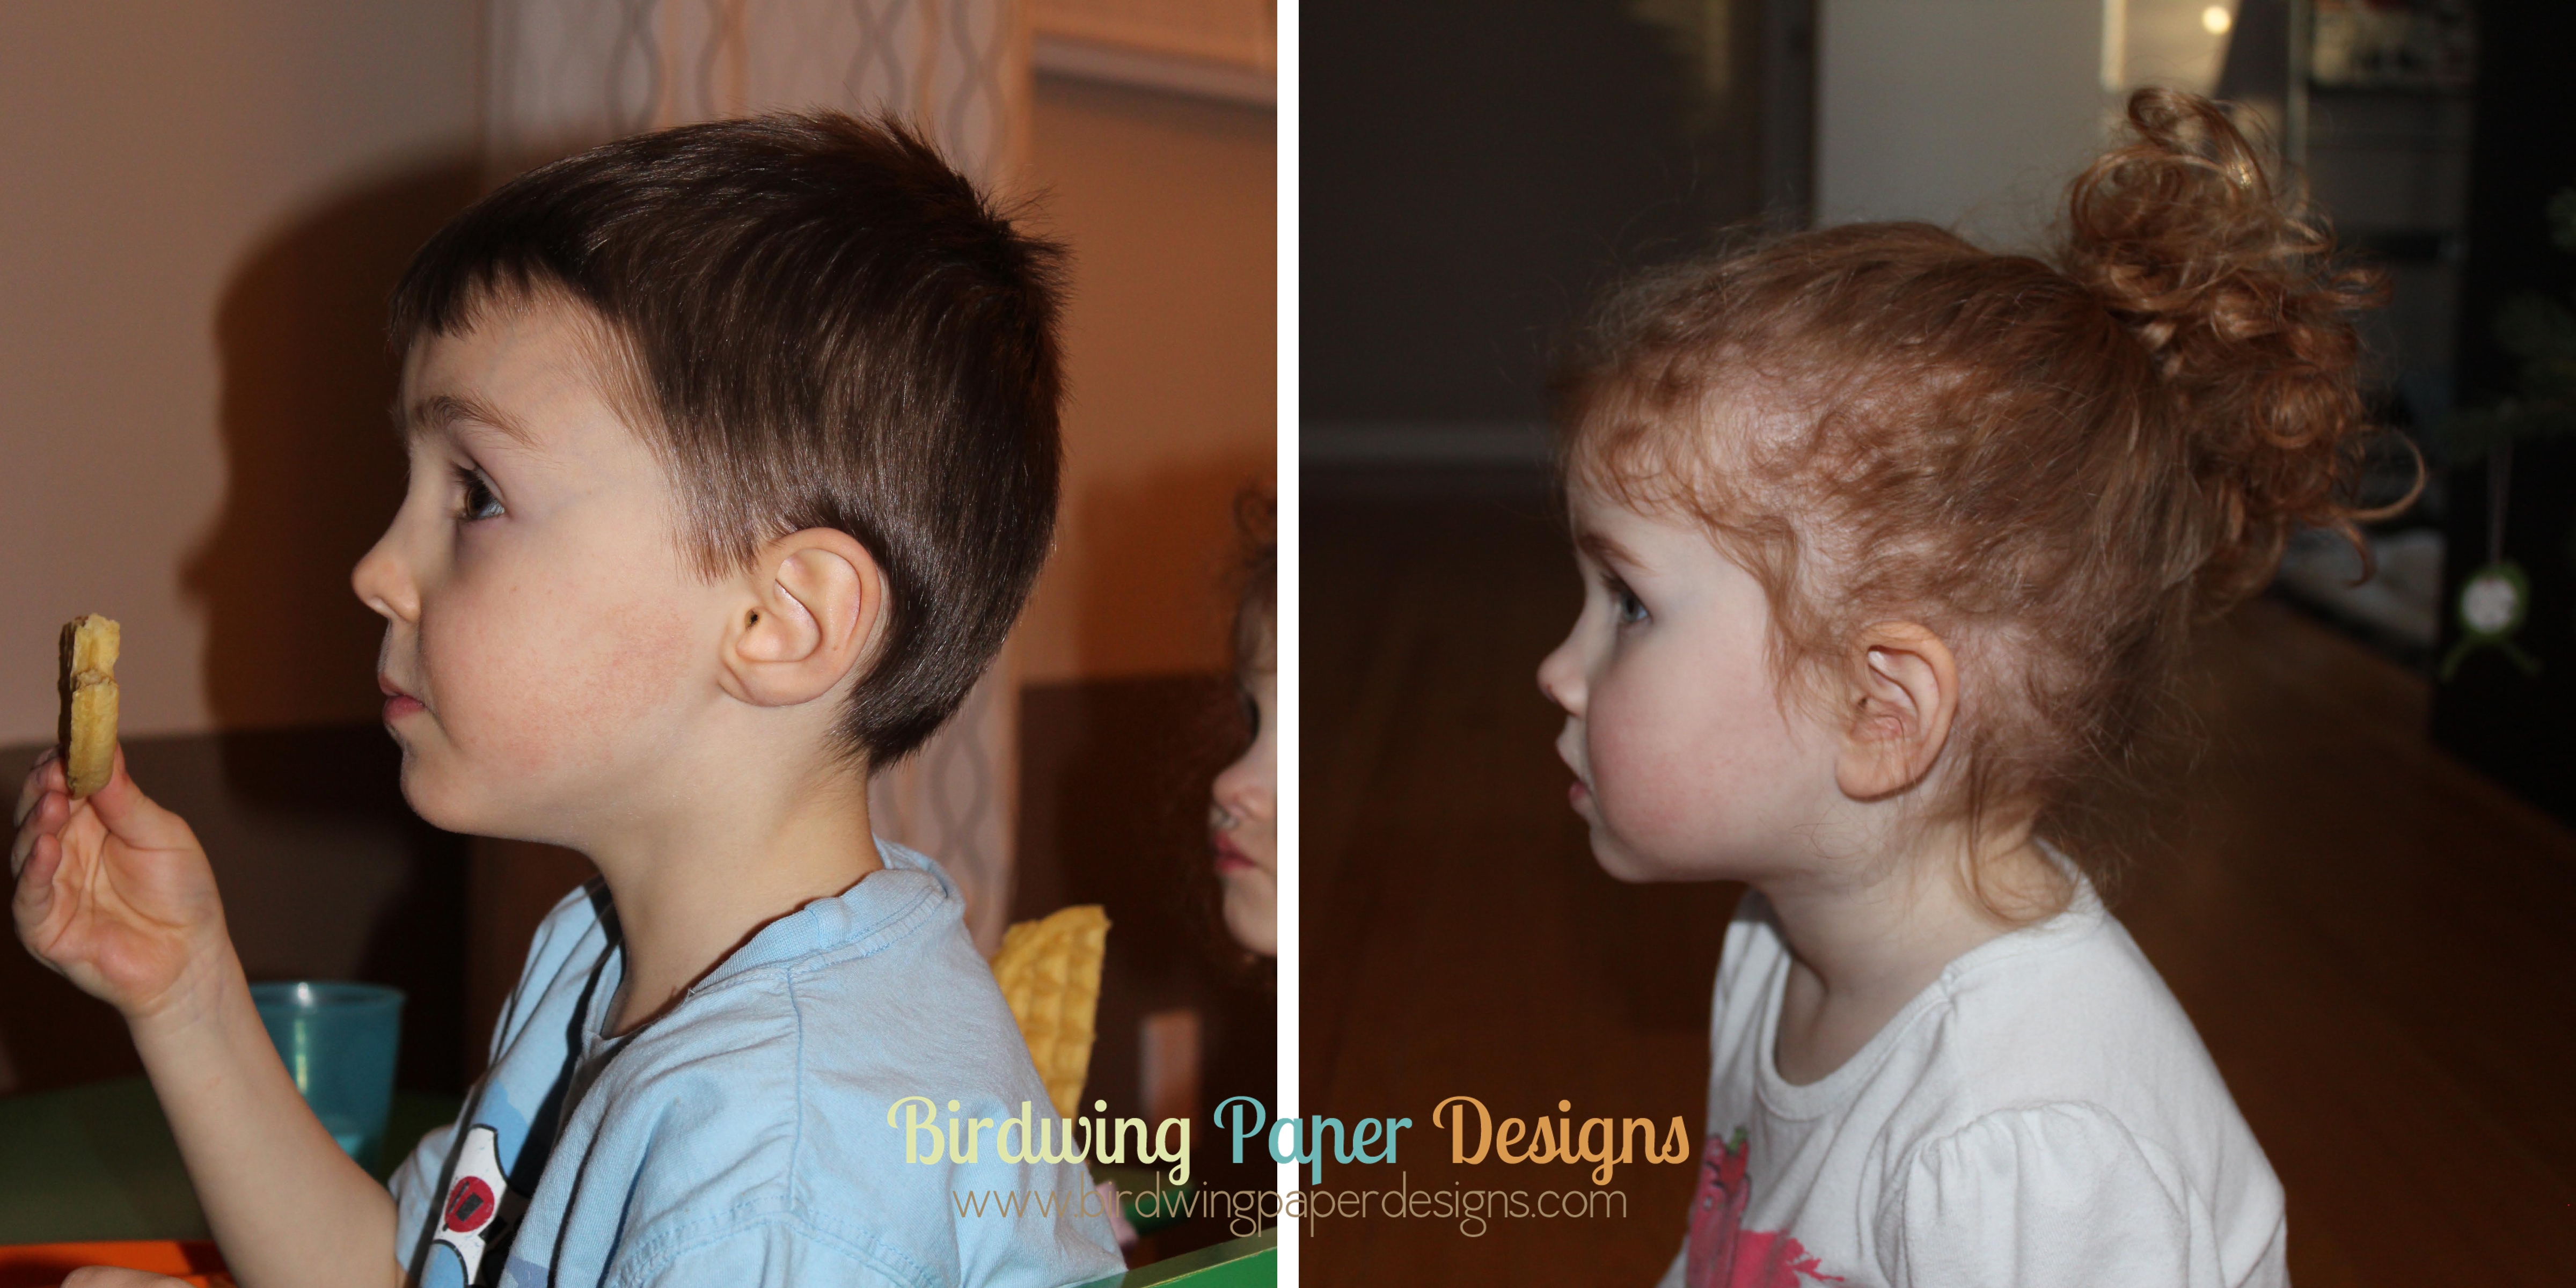
If you are asking yourself, “How do I keep my kids still long enough to take these pictures?” As you can see, distract with food and television!
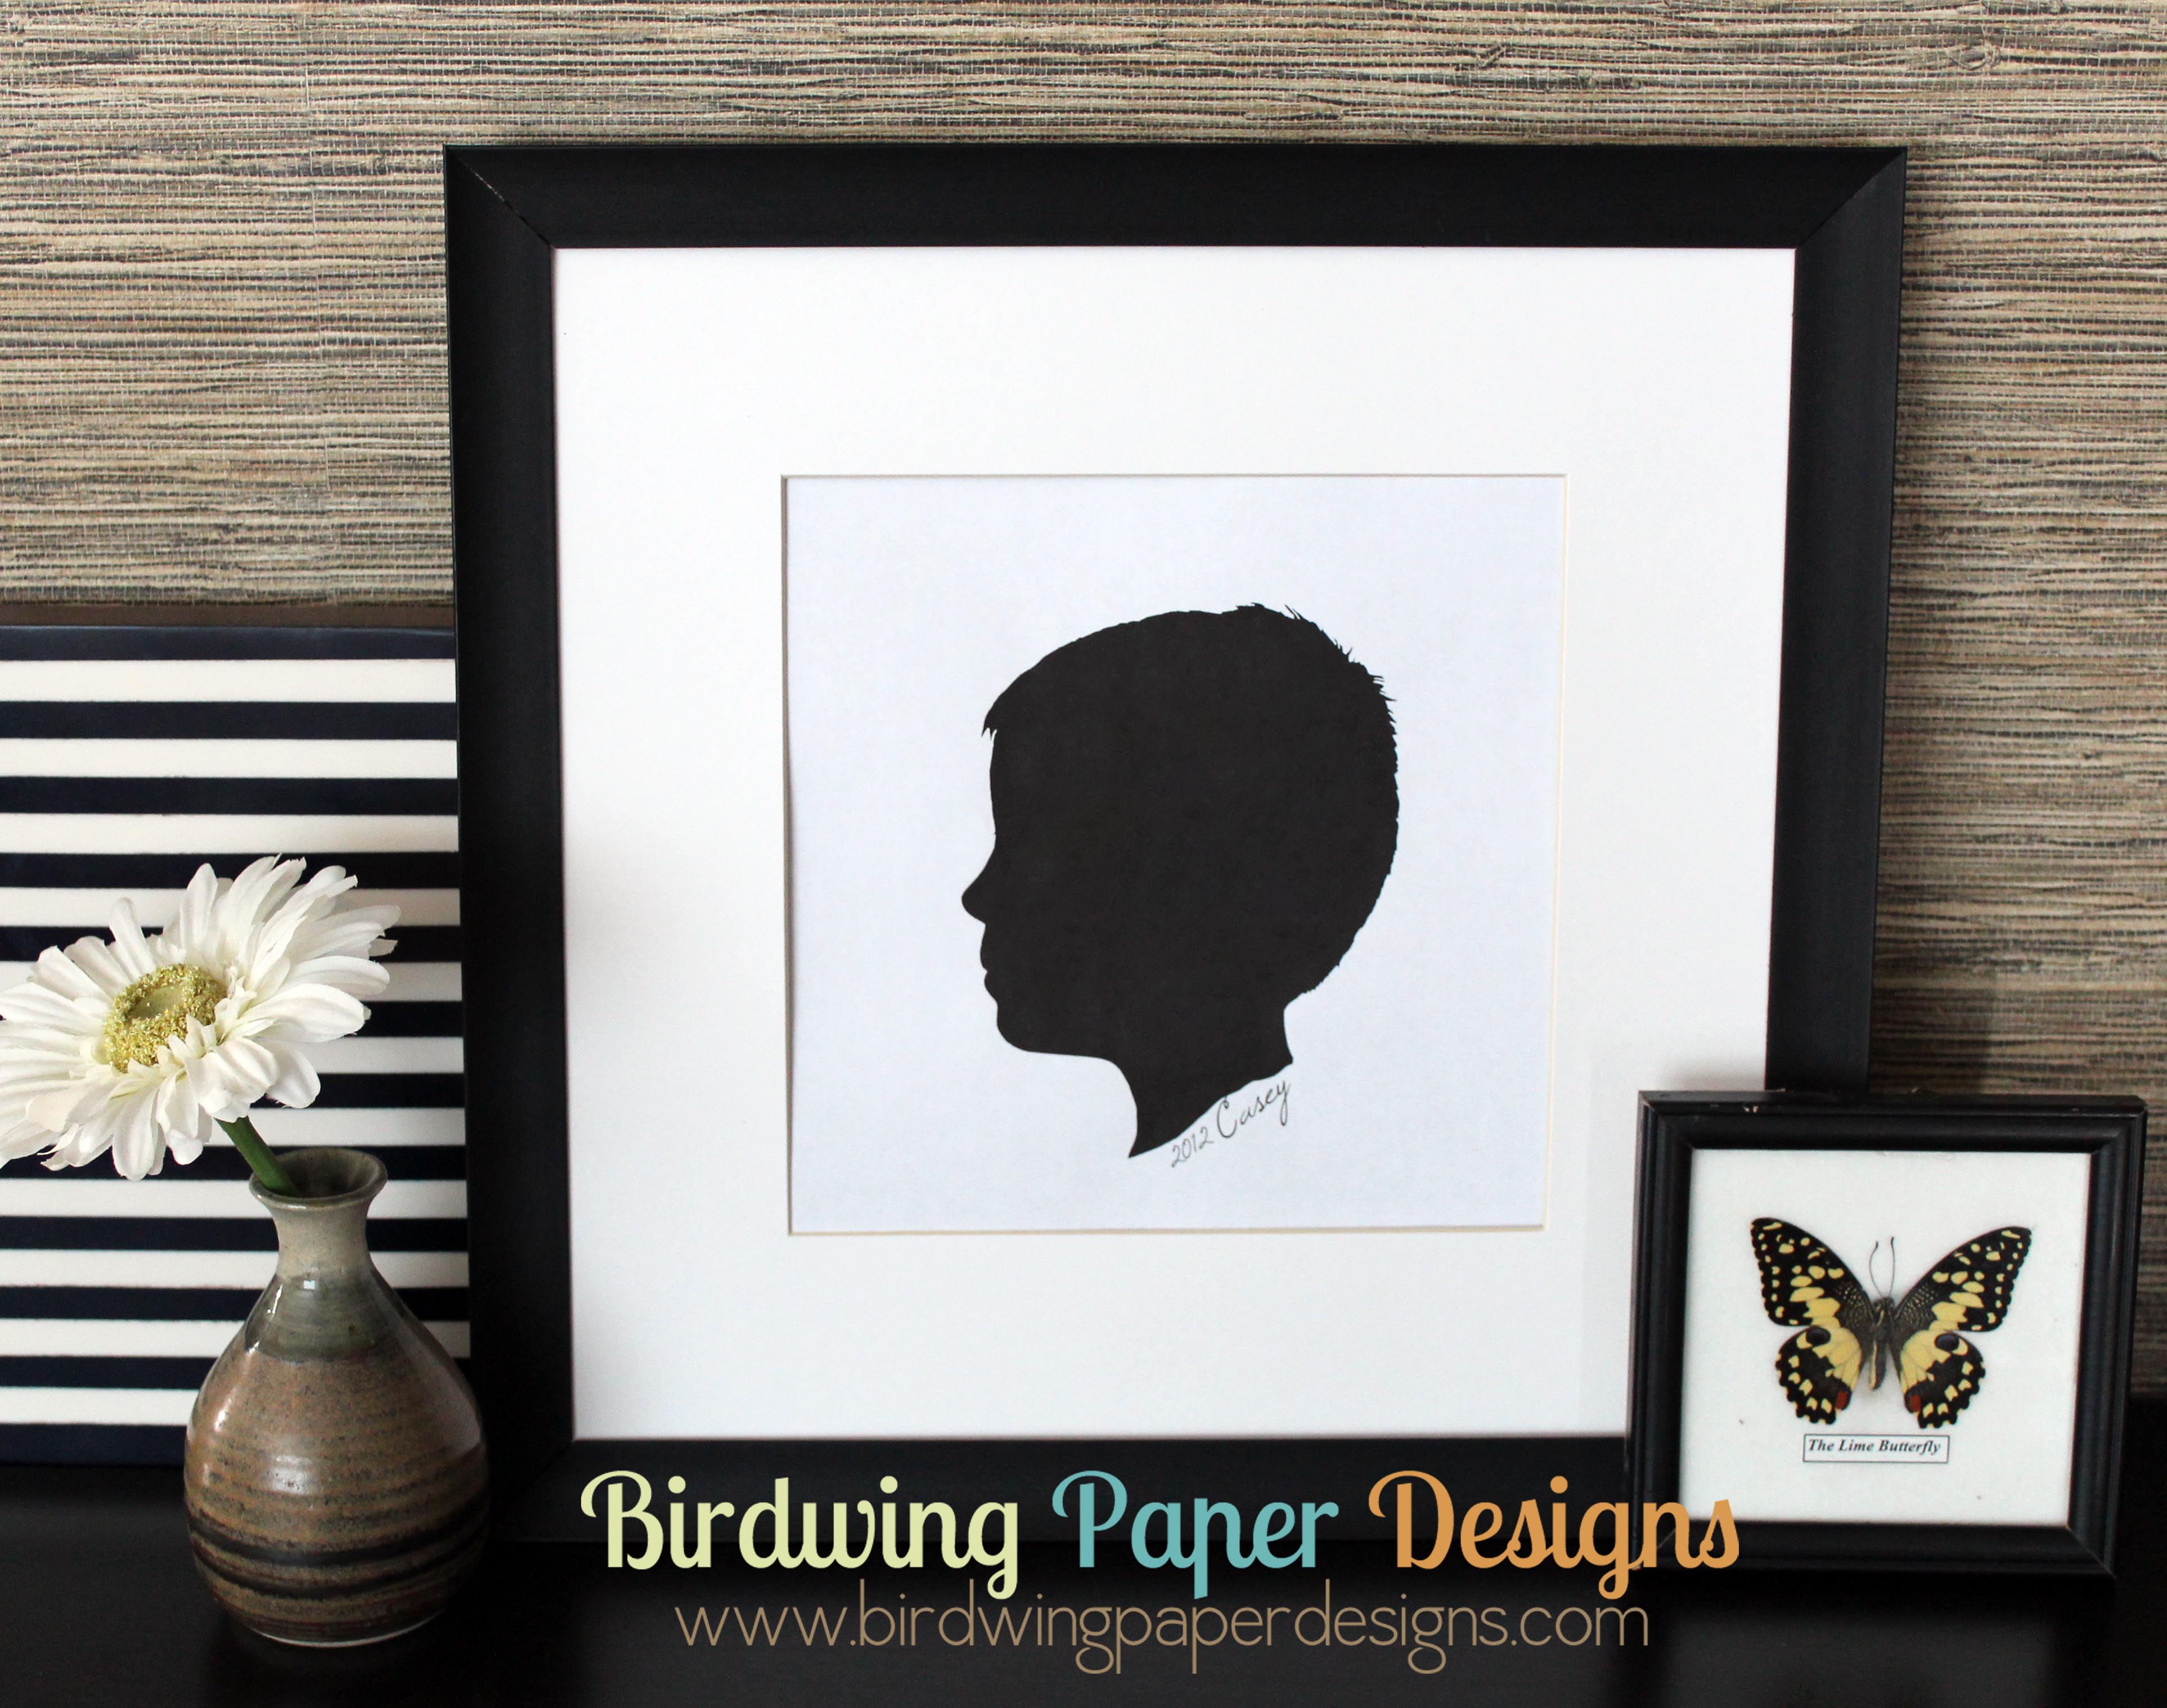
After working my Photoshop magic, here are their resulting silhouettes:

There are so many cool project ideas that can be done with silhouettes. I love having them framed simply in black and white.

I also experimented with shrinking the image down to one inch in size to fit on a pendant or in a locket:

The ideas are endless for these simple silhouettes, especially once mediums other than paper are introduced, like felt, fabric, canvas, paint, etc. I may try some more projects in the future and I will be sure to share them with you.
Leah


Did you use Shrinky Dinks to make the locket-size photos?
LikeLike
I haven’t made the locket yet, just the pendant. I was just looking at Shrinky Dinks on Pinterest yesterday and I may try them to get the images small enough to fit the locket. I will let you know how it works.
LikeLike
The first time I made something with Shrinky Dinks I thought I was doing it wrong because it buckled and warped….but as it “cooked” it flattened right out and was perfect.
LikeLike