
The snow has yet to fall in Edmonton (which is unusual for this time of year), but the cool, crisp weather has me thinking of winter. It was finally time to replace the pumpkins and Halloween decorations with more wintery decor. The fall pillows were switched out for faux fur ones, cozy, warm blankets were put in a basket by the couch, and the candles were set on timer mode to create a nice glow in the living room every evening.
While searching for the flameless candles, I found some potpourri from Pottery Barn that we set out last year. It had a lovely scent and looked beautiful in the crystal dish, but there were way too many twigs in it. To reuse it this winter, I separated all the pretty potpourri pieces from the twigs and placed it in a large, glass bowl with a strand of twinkle lights. Now, what to do with all those little leftover twigs?
The crafty options I found on Pinterest were to make twig snowflakes, stars, or trees. After taking votes from the family, the trees won with a strong “yes” from the husband. How could I not try it when he was so excited about a little twig tree?!!

There were a lot of different tutorials to make a tree out of twigs and I was looking for the easiest. In the potpourri mix, there were only so many twigs of the right size with the longest ones being 4 inches. Because of this, I decided to make it with layers of triangles.
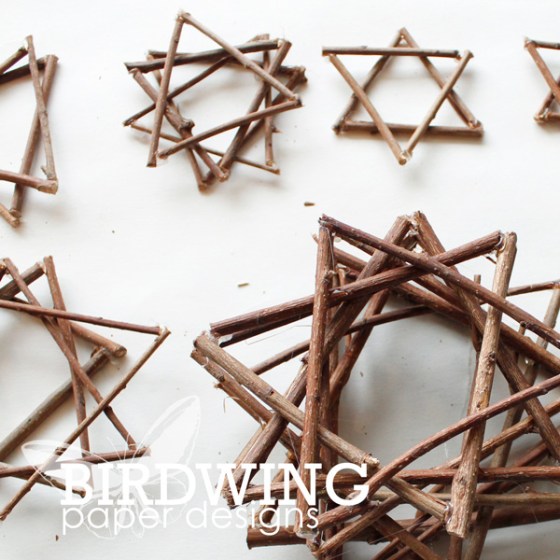
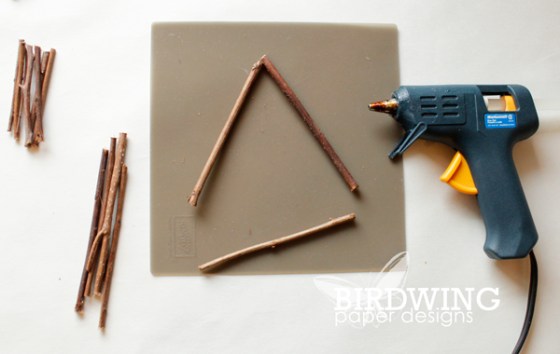
To begin the project, I laid out the twigs, grouped them in six (to make two triangles), and then increasingly cut 1/4 inch from each group. The longest twigs were 4″, then 3 3/4″, then 3 1/2″, etc… until the smallest twigs were 1″ long.

Then the twigs were hot glued at the ends to make a triangle.
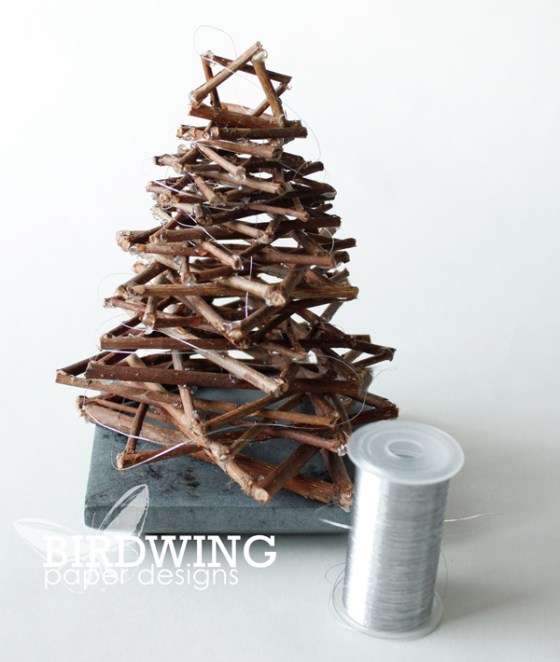
I stacked the triangles as I went just to see what it would look like before gluing it all together. It was a good idea because needed a few more layers to give the tree more height. I would have done more, but that was all I had for twigs!

The next step was the most difficult – gluing all the triangles together. It doesn’t sound hard, but the tree kept turning out lopsided and I had to restart it three times! The trick, as I finally discovered, was to continually spin the tree as the layers were added.


Once completed, I added a star to the top and finished it off with a little silver thread swirling around it.
This project was not as quick and easy as I thought it was going to be. In fact, it almost didn’t get finished because I was so frustrated trying to glue it together and keep it symmetric! After dedicating too many hours to this project than it was worth, I was determined not to stop until it was just right! 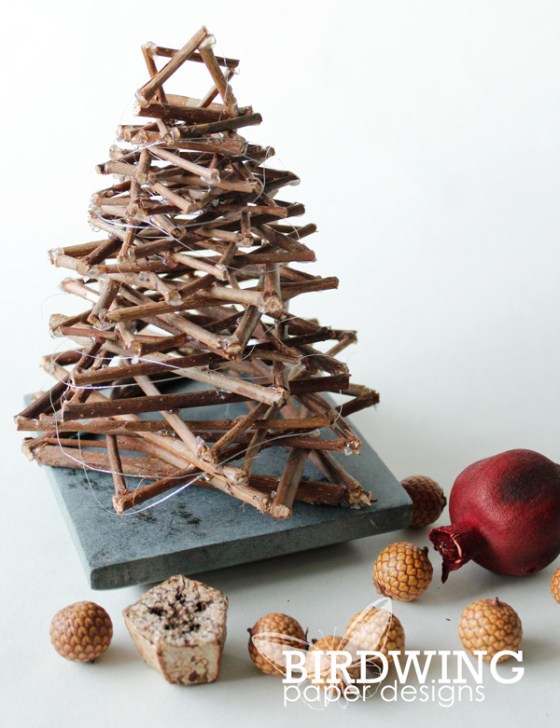
In the end, it turned out to be a cute little tree that the family loves, so it has found a home on our bookshelf for the holiday season.
Leah

