As a member of the Artisan Design Team for Stampin’ Up!, I will be sharing posts through out the year that will be featured on the Stampin’ Up! Facebook and Instagram pages. I was lucky enough to get to start the year off with a Corporate Post in the first week of January! Since the new 2022 January- June Mini Catalogue was also released this week, I wanted to share a project with a cute, new stamp set, Nuts & Bolts.


These adorable robots were begging to be colored in fun, bright colours so I will show you how I achieved this by using the Watercolor Pencils in a different way.
When using the Watercolor Pencils, I have always colored on the image first and then used a Water Painter to blend it together (top row in photo below). But, did you know you can add water to the image first and then colour on it? When you do this, the colour comes off the pencil smoothly and is extra vibrant. You are also able to easily blend different colors together.

To achieve this look I started by embossing the image in black on Shimmery White Paper. I added water with a Water Painter to a small section of the robot, and outlined those areas in a darker Watercolor Pencil (Bermuda Bay). Next, I gently added a bit more water to fill in the corners and edges, and finished it off with a lighter color (Coastal Cabana), blending it into the darker one. The more water brushed on the paper, the easier the color comes off the pencil.

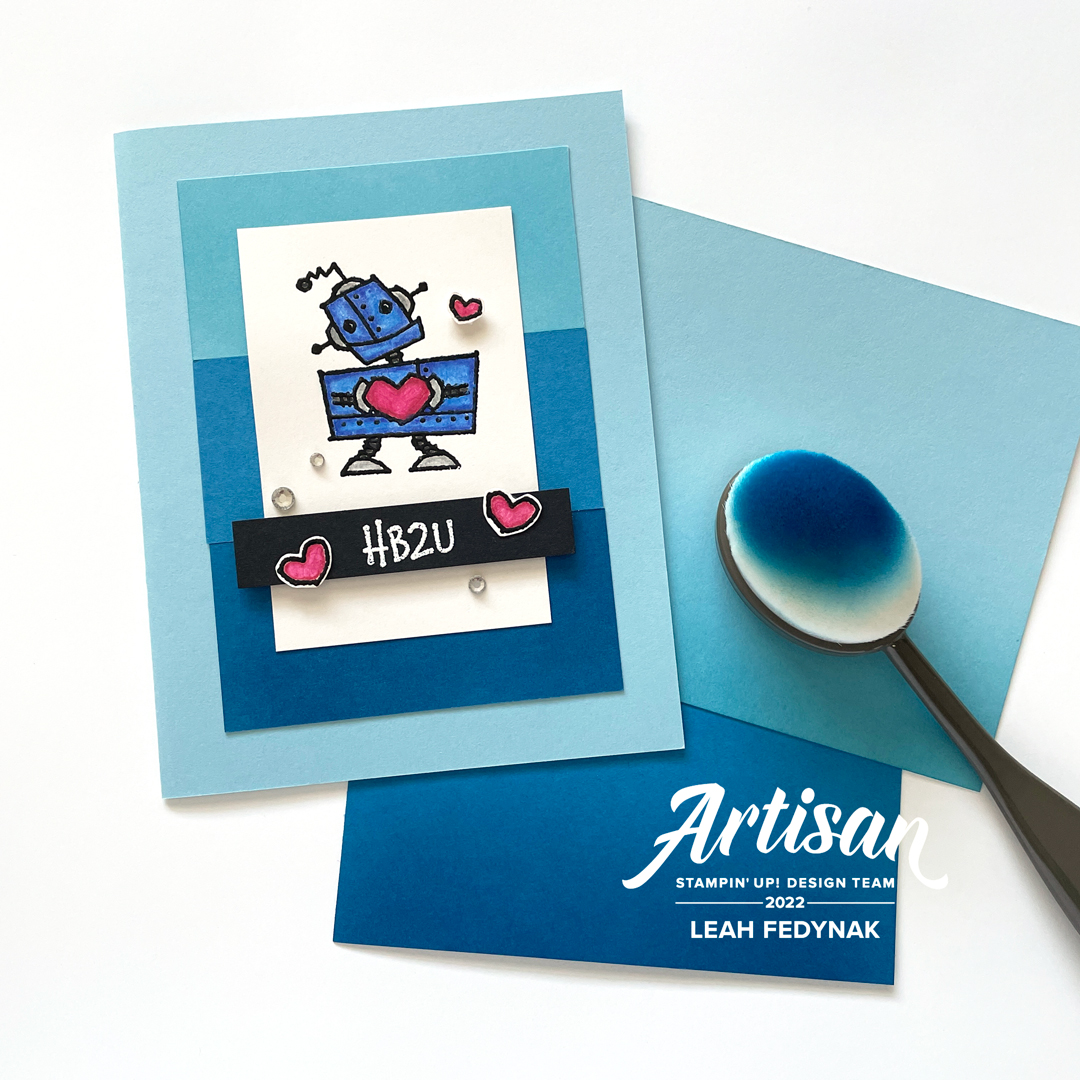
For the blue robot, I used the same technique but swapped the colours to Night of Navy and Balmy Blue with Cherry Cobbler and Melon Mambo for the hearts.

As I was creating the finished cards for the painted robots, I wanted to add an ombre background in matching colors but found that I was limited by the selection of cardstock. I was able to make more shades of blue by ink blending the same color on the cardstock. For example, on the blue robot card, I used a Blending Brush to add Balmy Blue ink to the Balmy Blue cardstock to create a slightly darker shade. This colour was used to make the top strip with regular Pacific Point cardstock for the middle, and ink blended Pacific Point for the bottom. The shades of blue worked perfectly with the colours of the robot.
See the video below for a full tutorial on the watercolour pencil technique and how I made the first robot card.
Thanks for visiting and I hope you come back throughout the year to learn new techniques and be inspired to use your Stampin’ Up! products!
Leah
Stampin’ Up! Supplies Used For This Project
All supplies used in this project can be purchased from my Stampin’ Up! Store.
PAPER: Shimmery White, Basic Black, Pool Party, Bermuda Bay, Balmy Blue, and Pacific Point Cardstock
STAMPS: Nuts & Bolts Stamp Set
INK: Bermuda Bay, Balmy Blue, and Pacific Point, VersaMark
TOOLS: Black and White Stampin’ Emboss Powder, Watercolor Pencils, Water Painters, Blending Brushes
EMBELLISHMENTS & RIBBON: Champagne Rhinestone Basic Jewels, Rhinestone Basic Jewels